Download the SPT2 Bridge Quick Start Guide
ONLINE:
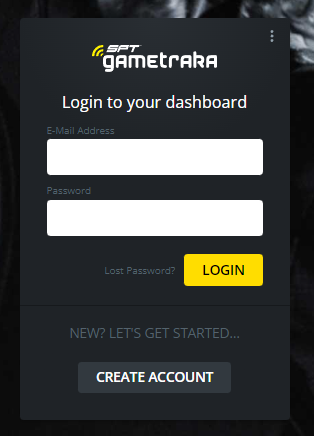
1. Login Page-
Enter your GameTraka credentials and click 'LOGIN'
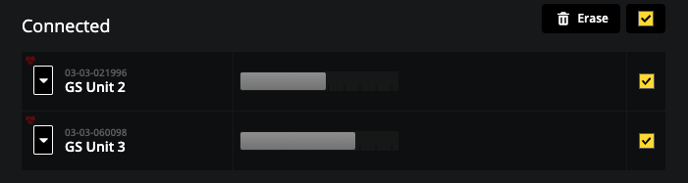
2. Device List:
You will be presented with your 'Device List', these are all the devices that are registered to your GameTraka account as pictured below.
If you have no devices plugged in to your computer, all devices from your account will appear under 'Disconnected Devices' as shown below.

Once you plug your devices in (if you are using a charge dock, be sure to turn the power on) they will appear under 'Connected Devices' as shown below.
To register any new devices to your GameTraka account, please follow this link to learn how.
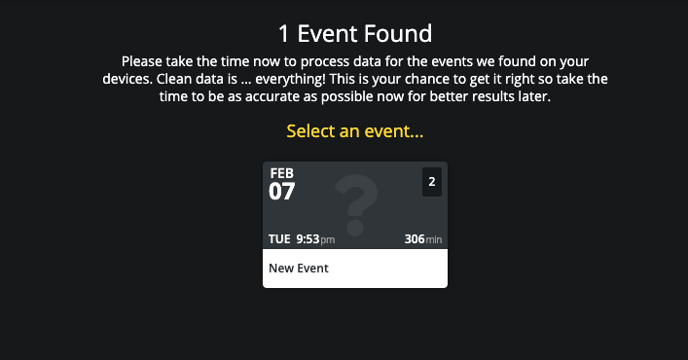
SPT2 Bridge will automatically detect events that you have recorded. All detected events will appear in the right hand side of this page. SPT2 Bridge will automatically detect event date, time, duration and number of performances.
Once you have selected the performances you want to process, click 'NEXT' in the bottom right hand corner.
3. Events:
The events page will display all automatically detected events that are now ready for processing. Simply select any event you wish to process by pressing anywhere on the event square.
This is your opportunity to tag and name your event in order to be uploaded to your GameTraka cloud. Make sure you choose the right team using the drop down labelled 'Choose a team'.
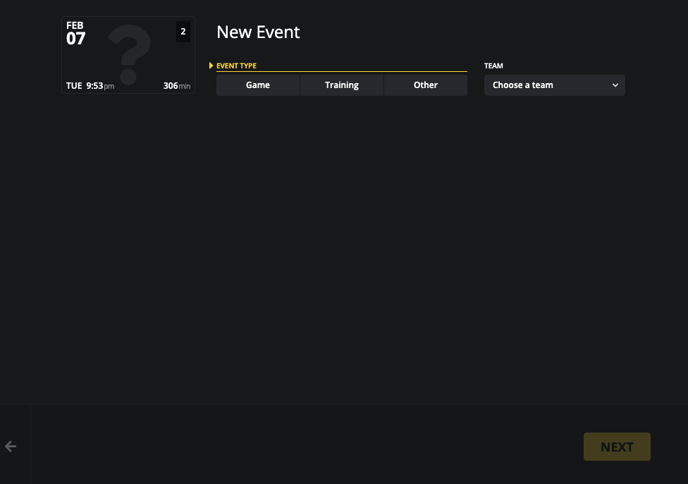
Select Event Type (Game, Training or Other). Work flows for Game and Training vary slightly.
Game:

Training:
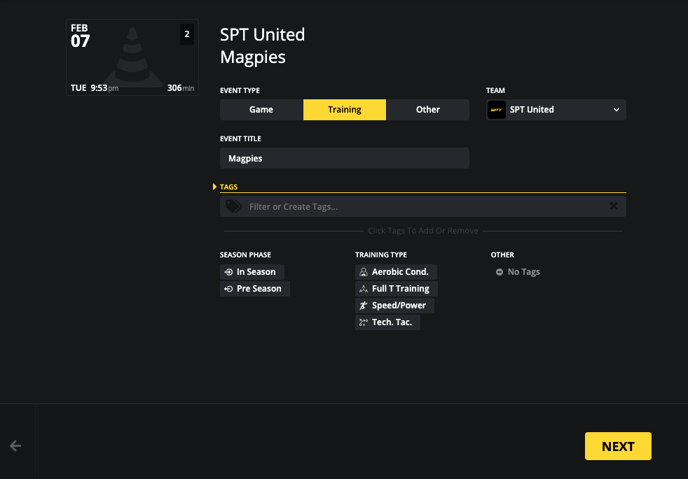
It is important to add as much detail to your events as possible to get the most out of your GameTraka analysis.
To learn how to add custom tags to your events, click here.
When you have completed your event creation workflow, click 'NEXT' in the bottom right hand corner.
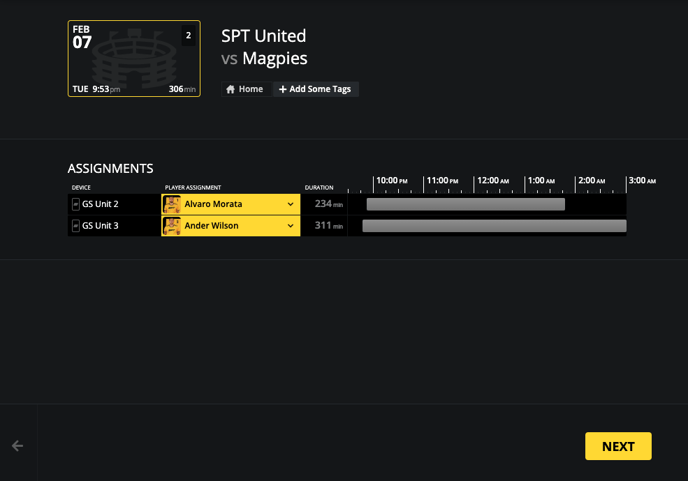
Assigning Performances
The next step is to assign athletes to performances. There is a drop down list next to each device name that will display the names of all athletes in your team that you chose in the event assigning step. Assign the correct device to each athlete that participated in the event. Once all devices have been assigned, you can now click 'NEXT' in the bottom right hand corner.
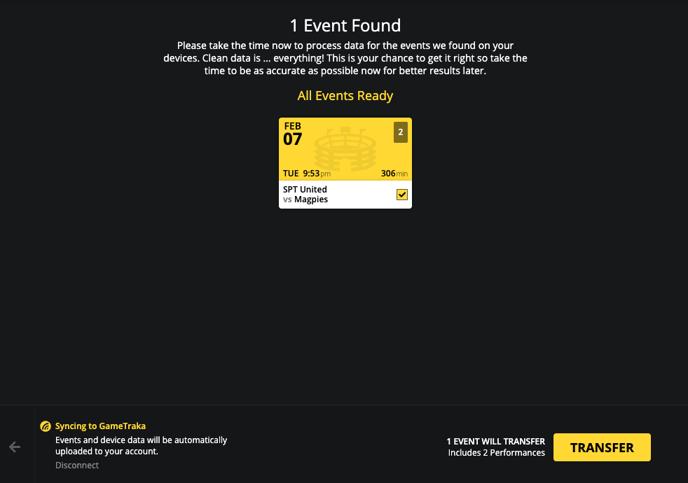
The above steps must be completed for all events you wish to upload to the GameTraka cloud. If you do not wish to upload any automatically detected events, simple do not add any information to them.
Once you have added all information to events you wish to upload to the GameTraka cloud, click 'TRANSFER' on the bottom right hand side of the page.
You'll then be met with the below page indicating the performances are being uploaded to GameTraka.
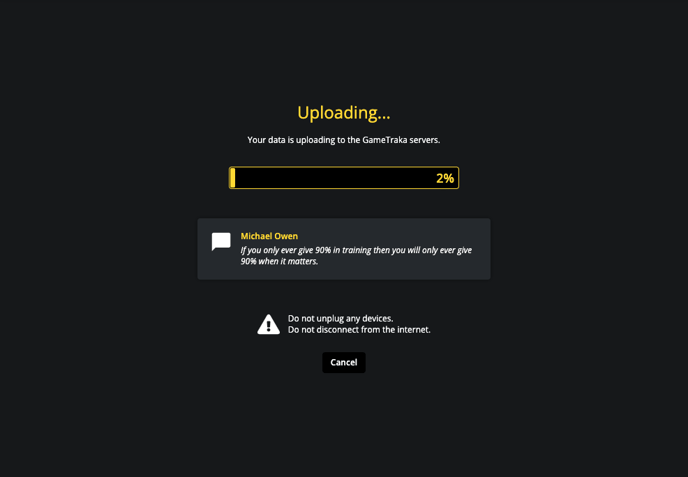
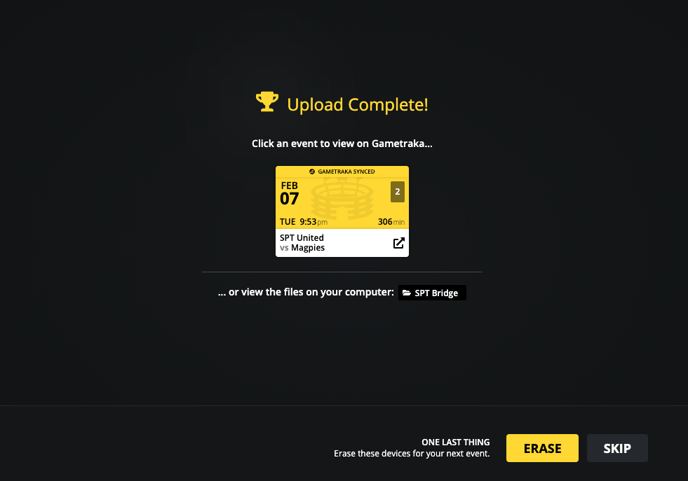
Once your events have finished uploading they are now on the GameTraka cloud ready for analysis.
- Note: Your files have also been saved to the hard drive of your computer should you wish to access them at a later date. Just look for the folder titled "SPT Bridge" in your Documents folder.
On the next page we recommend you click 'ERASE' on the bottom right hand corner to clear all data off your devices.
Once you click erase, you will land back on your 'Device List' page.
Please click on the GameTraka logo on the top right hand corner to launch GameTraka and conduct analysis on your uploaded event.
